Wednesday, 30 March 2011

You've been framed

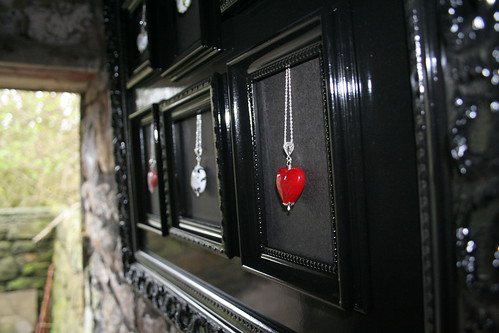
I've been busy framing this afternoon - partially to find permanent 'homes' for sculptures, to make them less fragile, and partially as a way to display my jewellery for the upcoming British Craft Trade Fair.....so, I thought I'd share :o)

There's one more 'type' of frame to come, but that will have to wait until the trade fair, I couldn't get a proper photo :o)

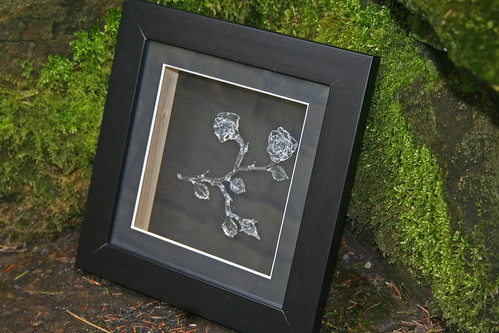
You've Been Framed - Roses

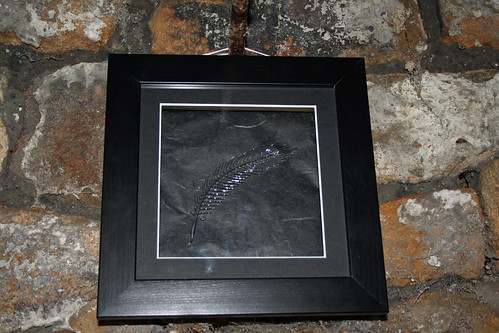
You've Been Framed - Feather

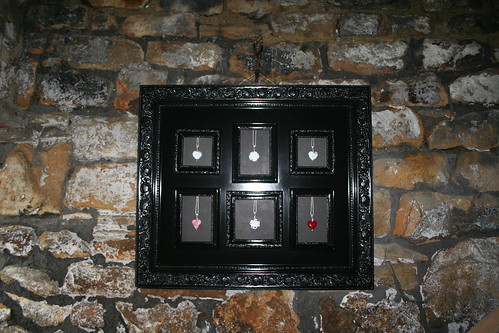
You've Been Framed - Wordsmith Collection

You've Been Framed - Wordsmith Collection

Tuesday, 29 March 2011

Easter Eggs a la Batik

Hello all...I thought it might be time for another non-beadie post ;o)

Last year, I shared our family tradition of painting Easter eggs on the Frit Happens forum, but this year, I thought I'd blog about them a bit earlier, to give anybody time to get in on the action. Here's what you need:

- Eggs (no! Really? I hear you say? Yes......the whiter, the better, and scrub of that silly date stamp, if you can)
- Egg dye tablets (easy in Germany - in the UK, search for 'egg dye' on ebay or similar, you're looking for the kind where the egg is dunked into water)
- real beeswax
- lid from a tin of sweets
- pencil with a large-headed pin stuck into the back
- hob/cooker plate (electric)
- jars to make egg dye up in
- kitchen paper
- knife & fat (optional)

1) Put beeswax into tin lid and place on hob, on *low* heat (maybe 4 to get you going, but then, down to 2) - it should be about 5mm deep
2) Make up the dye in the jars (big compot jars work well, or pint glasses) according to instructions
3) Get comfy near the cooker, pick an egg, pick p your pencil (you're 'writing' with the pin head!), dunk it into the wax and *quickly* draw on your egg. You'll only ever get a single stroke or dot done before the wax is hard, so don't try to do more. Start with dots to get your confidence, if you want.
4) Dunk the egg :o) Pick your first colour, dunk - the longer the egg stays in, the more intensive the colour. While egg no. 1 dyes, paint egg no. 2.
5) Take egg no. 1 out when the colour looks right, and leave to dry on the kitchen paper. Once dry, take it back to the stove, and paint on it some more with wax, then dye a different colour.

IMG_0119

Repeat the above steps with as many layers of colours as you like and/or have patience for.

Once all your eggs are painted, dyed and dry, you can either leave them as is, or *very* carefully scrape the wax off with a knife - this looks much nicer, as all the colours shine through properly. As a final step, use some fat (oil, butter, etc.) on a piece of kitchen paper to 'polish' the eggs.

NB: You can either boil eggs first, in which case, let them cool down before dyeing them. If you poke a hole in for boiling, close it with a dot of wax, or else the dye will run into the egg and colour it.

Alternatively, you can paint the eggs raw, then poke a hole in the top and bottom and blow them out - this is hard work, but it means you can leave them to dry before tying a piece of thread around a broken-off matchstick piece, stick it through the hole, and you can then hang it from the egg.

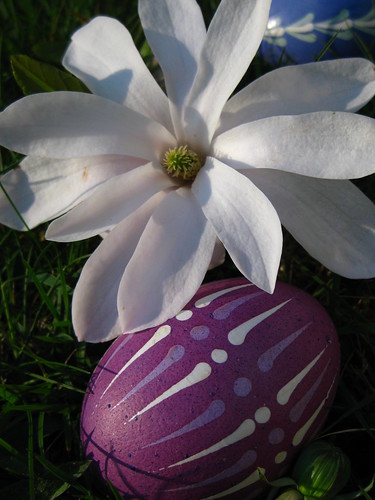
Happy painting, and if anybody has a go, I'd love to see pictures! For anybody interested, this method of egg painting is called 'Pysanky' or drop-pull, and is most prevalent in Eastern Europe. Our family, thanks to my son (seen in a picture from last year below) is now the fifth generation I know of to paint eggs this way.
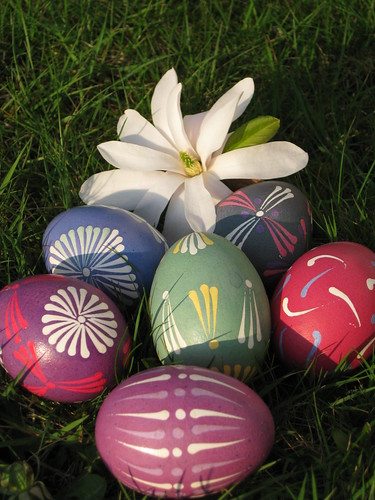
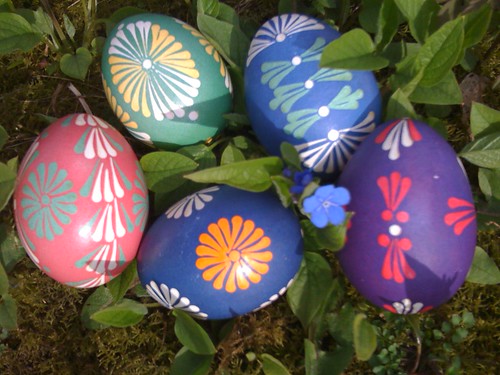
Happy Easter

Easter Eggs 2010

Happy Easter

Saturday, 12 February 2011

Play Day

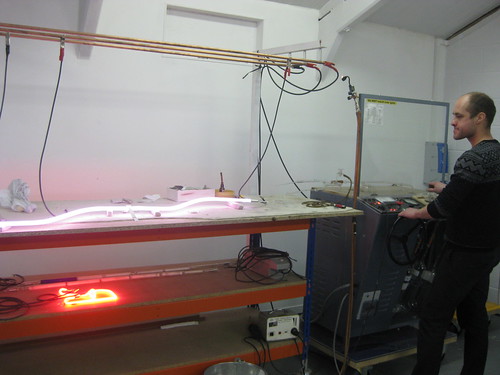
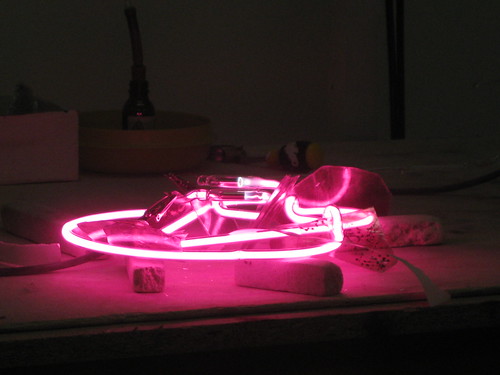
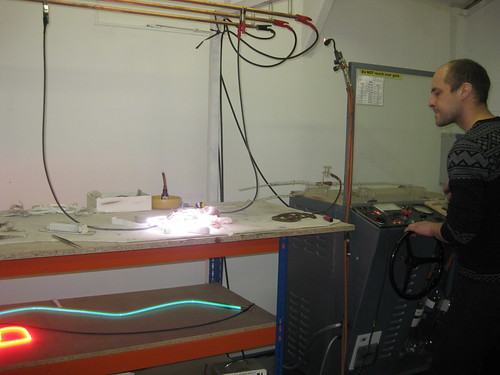
It's always good to push boundaries - or so I told myself when I signed up for a neon glass workshop. Yesterday, I trundled off to Neon Workshops in Wakefield for a one-day course. Following an intro about the history of neon, the various gases, burners & other equipment, we were invited to create a design that would get created by one of the course tutors in the afternoon. Well........you know me, right? After explaining that I'd rather have a wonky squiggle that was mine than a masterpiece that got made for me, I hit the burner - As you know, I do do sculpture, but bending tube was a bit of a novelty, and my main reason for signing up. I was hugely impressed with how well behaved the glass was (neon makers work with soft glass, soda lime - did you know??). I discovered a love for the ribbon burner and managed to make two squiggles in 18mm tube - then, I have to admit, I let one of the tutors join them together into one long squiggle. Filled with Argon and a hint of Mercury, the squiggle will be my 'blue sea' and will proudly live one the wall in the new studio - now all I need is some glass fishies and boats to live above and beneath it.

Here are a few photos from the day - one shows my squiggle being filled with gas, one is of somebody else's piece (done by the tutors), and one show my squiggle on the 'aging bench' (underneath the main work surface), where the colour settles after filling :o)

IMG_3694

IMG_3695

IMG_3696

Sunday, 6 February 2011

Studio refurbishment - exciting times are afoot!

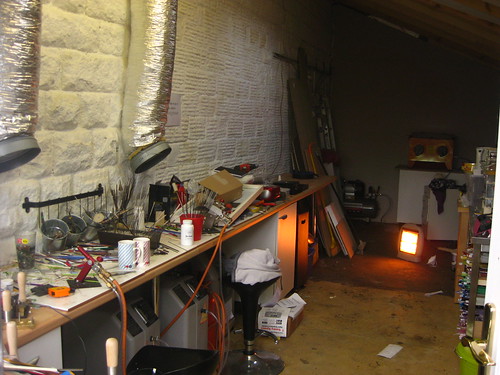
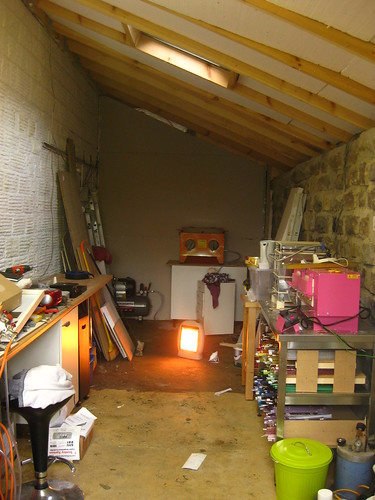
I'm in the process of refurbishing the studio, after my better half gracefully donated the rest of the garage to me.

So far, the internal wall has been moved, the wall has been painted, existing furniture has been re-shuffled, new ventilation and some additional furniture has been ordered. There will be five ventilated spaces (four permanent torches (two big enough to handle boro, so either 'four littles' or 'two with two oxys each') and a silversmithing/occasional 5th torch space), a coldworking area with grinder and sandblaster in the far back, silversmithing set up with tumble & wheel polisher & bench drill, and a bit of space to sit/ponder/design/peruse books.

Can you tell what it is yet?

Can you tell what it is yet?

I'm hoping to be properly up and running in time for the 'teaching the teachers' course on 12th March (which I still need to blog about!), and will also start running group evening and one-day classes :)

I'm very excited bout this, and couldn't have done it without all the lovely people who came for tuition and made me realise that increasing the teaching space would be a good idea - thank you!

Sunday, 30 January 2011

There's a new kid in town

For the last few months, I have been thinking about a website aiming more at the trade than the general public, showcasing constant ranges made to order, gallery-style, rather than an actual shop with weekly-changing stock. Something to incorporate my slowly-growing sculptural work. Something the permanently house the fabulous professional photos we took a few weeks ago (yes, specifically for this website, among other things :o)

Well......it's here. The general public might never notice its existence, and there are a few things I'm not 100% happy with, but...ladies and gentlemen, may I present: www.sabinelittle.com. May the site live long and prosper.

_1154658

The photo is, of course, by the fabulous Claire Penn again :o)

Sunday, 16 January 2011

New year, new...everything :o)

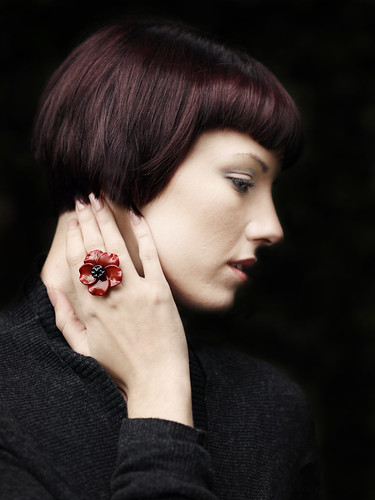
Happy New Year everybody! I'm really looking forward to 201, th first full-time year dedicated to glass! It has been very busy so far already - last Saturday, I spent a fabulous day with photographer Claire Penn (www.clairepennphotography.com), hair and make-up artist Clare Ardern (www.harryjon.com), and three gorgeous models - Tabitha Courtney Smith, Terasa XDx and Leah Slater. All six of us trundled up to a farm in Lancashire, took over a barn, and worked our little socks off - well, all the others did, I just made sure the jewellery was facing the right way and suggested a few poses.

The girls were all fabulous - trying to shoot elegant, dreamy and glamorous pictures when it's chucking down with rain, or while you're crouched in a drippy little cubbyhole because of the lovely dark background isn't easy. Clare did a beautiful job transforming the girls for different 'looks', before Claire and I dragged them through the mud. It was very cold and wet, and with only the odd cup of tea and lunch to keep them warm, I'm very grateful everybody was so 'up for it'. You will be seeing more pictures cropping up as they get edited, but here is one to start with, the fabulous Leah Slater modelling a poppy ring.

Alcazar shoot no. 2

To celebrate the new photos, I'm running a little give-away on my Facebook page (www.facebook.com/littlecastledesigns), so be sure to look out for it!

Monday, 29 November 2010

Mystery guest in the studio

Today, I had a visit from a lovely guest, whom quite a few people will know by name, and a fair few personally. If you're out and about online, this won't be much of a secret, so if you spotted her posting that she was coming, *sh* :o)

Mystery Guest in the Studio

Otherwise.........who might it be? :o)