Wednesday, 4 May 2011

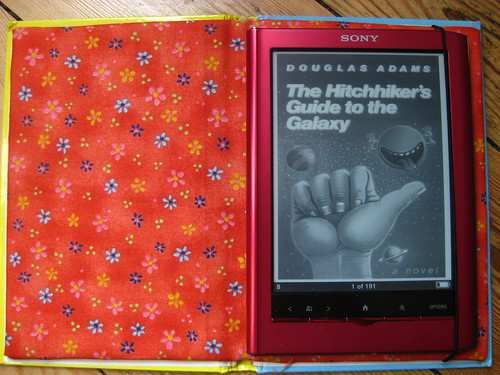
Random Craft Attack: E-Reader Cover

Sorry, I was going to do step-by-step photos, but it was done so quickly, I didn't get a chance, lol! After the success with the family Easter eggs, I decided to post the odd random craft tutorial, as and when it takes my fancy - I hope you like them. Today's crafty story starts like this:

E-Reader cover

In February, I bought myself an e-reader in America, plus a leather cover, from a brand endorsed by the e-reader, and sold by the same big-name store. I happily read my book for 20 minutes, put it in its cover, then in my handbag (otherwise occupied by my wallet and a 0.5l plastic water bottle). The next day, the magnetic snap button on the e-reader cover had shattered the screen of the reader and frozen the image. Complications due to having bought in America and an end-of-line product etc. seemed to make the returns process more costly than the e-reader itself.

I grumped for a good six weeks before I decided to buy another e-reader - but I was damned if I'd put it in the same cover. So here's what I did.

You'll need:

- A hardback book that is slightly larger than the e-reader, and that you are happy to 'gut'.
- Sharp knife or craft knife
- Two rectangles of cardboard that fit each side of the inside cover of the book
- Fabric remnant
- Rubber band
- Gorilla tape
- Glue

1. Take a sharp knife and carefully 'gut' your book.

2. Cut your cardboard to size (each rectangle should be slightly smaller than the inside cover, you'll need one card each for front and back).

3. Open your book cover and place the cardboard pieces accurately, then use gorilla tape to tape the cardboard together with the right spacing. Tape it from both sides, so you have a stable spine.

4. Cut fabric remnant to be slightly larger than your cardboard 'book'. Lay fabric face up on cardboard 'book', turn over, fold over all edges and either glue or gorilla-tape in place.

5. Decide where you want your rubber band - you're best off knotting a piece into an 'O' shape, rather than having to trust that knots don't slip through holes, etc. Place rubber band and hold in place with a length of gorilla tape.

6. Spread entire back of the cardboard 'book' liberally with glue and stick to inside book cover. Weigh it down with something heavy until glue is dry.

7. Marvel at your creative prowess :o))
E-Reader cover

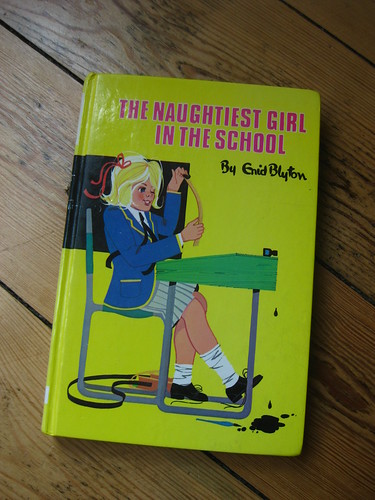
Total cost for me: £ 0.65. Yup, 65p, the cost of the book at a second-hand shop. Total time taken: About 6 minutes. Enjoyment to be seen reading 'The naughtiest girl in school' for years to come - priceless :o))

Saturday, 23 April 2011

"Untold Tales" or "When two glass people talk"

My friend Emma Mackintosh and I recently had a natter - it was something to do with having a 'style', which kind of morphed into 'getting stuck in a rut'. We both love our 'usual fare', namely dragons and roses, of course, but we thought it might be fun to start some collaborative work to challenge ourselves, or to set some parameters for 'structured playtime'. So, over the course of a few messages and phone calls, we decided to start a joint blog, and to post about our efforts and outcomes. To give ourselves a bit of a framework, we thought we might tackle one fairytale each month. Since we both have leanings to the slightly obscure, we figured that it would be interesting to see how we each interpreted each fairytale, and promised each other to share out thought processes behind the pieces as well as the results.

To cut a long story short, there's a new blog on the block, called 'Untold Tales', and this month, we've been playing with 'Sleeping Beauty'. At the moment, there are only a few posts on it, but it will grow over time. We thought that, maybe, others might like to see what we're up to, too. This doesn't mean that this blog will stop, if anything, it'll get more interesting, because I'll be pointing to our blog posts as and when they occur.

If you're interested, you can find it at www.untoldtales.co.uk :)

Wednesday, 20 April 2011

Ring Top Tutorial

Due to popular request :o) A quick explanation of the techniques behind making ring tops :o)

Option one - no pictures:

Make a cab on the end of a dipped 4mm or 5mm mandrel. Cool, glue in a nut with your favourite 'will hold even in the apocalypse'-glue, and you're done.

Option two:

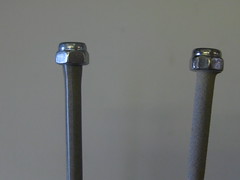
When you make ring tops "on the go", it helps to burn off the nylon insert first. To do this, hold the nut in a pair of tweezers, and hold it in your flame. Burn off the nylon out (you'll see a small flame flaring up, then die down), then leave to cool.

Dip a mandrel in bead release - *either* a 2mm mandrel (left in pic) or a threaded mandrel (right in pic - trust me, the end is threaded, even though it's hiding under the bead release). If it's a normal 2mm, just pop the nut on top (as shown), if it's threaded, screw the nut on. Leave to dry.

IMG_4235

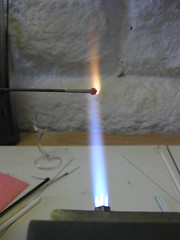
When dry, get the nut in the back of the flame, to pre-warm, as if you are warming a rod of glass.

IMG_4236


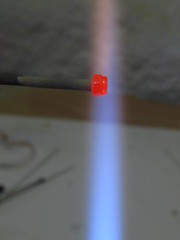
Then, moving to the front of the flame, get you nut glowing gently - don't go hell for leather!

IMG_4238

Wind glass around the nut, near the bottom, making sure not to cover the underside of the nut:

IMG_4240

Cover the top of the nut as well, and make the top as large or small as you dare (but make sure there is enough glass to give the nut a nice even coating. Hold it so the glass can start to cover that last bit of the nut (you can till see an edge here):

IMG_4241

Here, the nut is covered:

IMG_4242

Decorate as you like (or make it bigger)!

A few hints and tips:

1) If you want to make a large top, use a marver and marver the bottom to ensure it doesn't creep underneath the nut.
2) If you choose the 'balance-on-top-of-2mm-mandrel' option, the bead release may break if you engage in too much poking and/or prodding, so be careful!
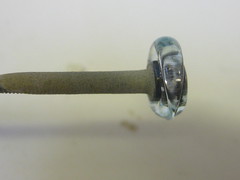
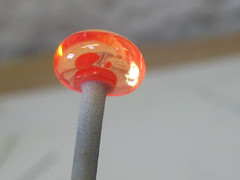
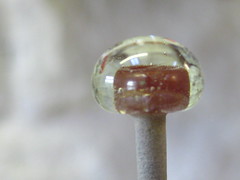
3) As you can see from the top above, light transparents aren't very pretty options, since you can see the nut. Use frit, or etch, in order to cover the 'evidence' :o)

And *cough* nuts, threaded mandrels, and rings and pendants in stainless steel and sterling silver are on my website: www.littlecastledesigns.co.uk ;o)

Tuesday, 19 April 2011

There *will* be glass - Part 2

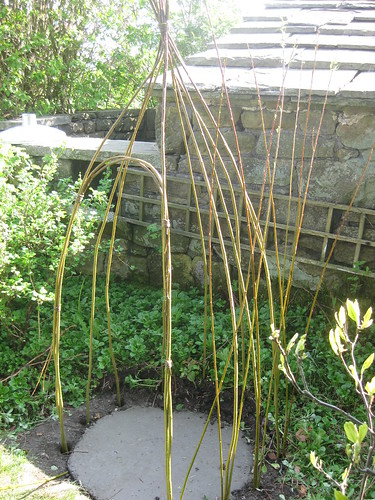
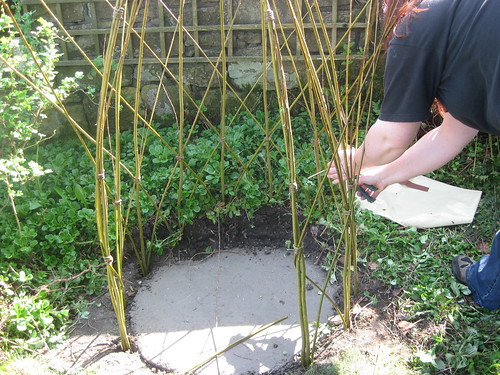
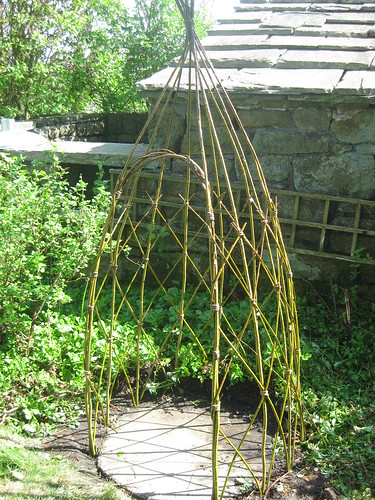
Can you tell what it is yet?

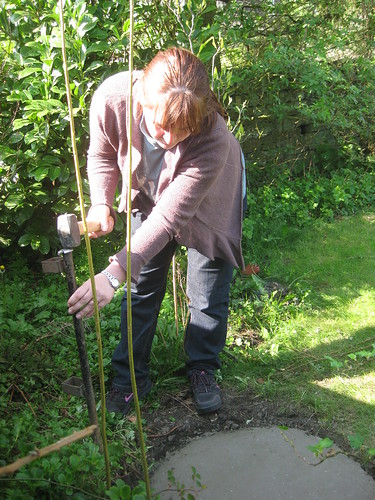
The lovely Rachel came over today, and my education in willow weaving continued! A morning well-spent!!

A Cunning Plan, Pt 2

A Cunning Plan, Pt 2

IMG_4228

A Cunning Plan Pt 2

A Cunning Plan Pt 2

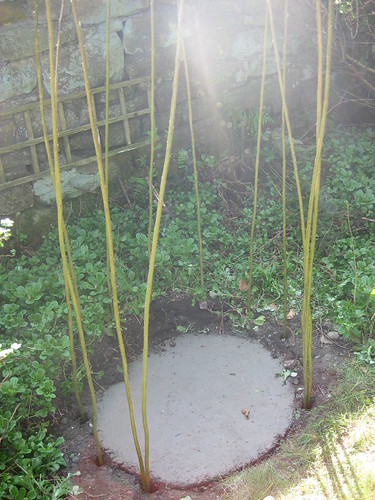
It's living willow, so it'll green over, carry on groing, new shoots will be woven in...in three years or so, you won't be able to see the structure, just a green play den!

Sunday, 17 April 2011

There *will* be glass - Part 1

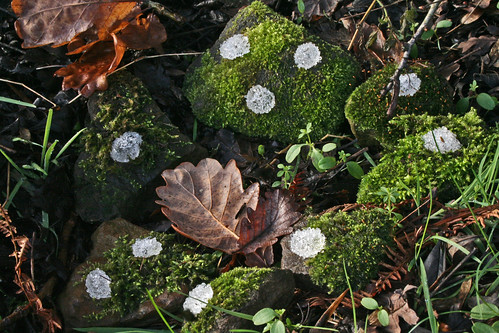
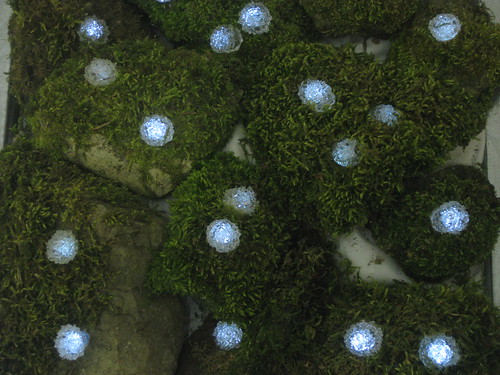
As those who know me know, I do love playing with natural forms, and tying them in with nature....in fact, maybe you don't know, because I never shared my glassy moss, did I?

Here it is:

Fairy's Abode1

...and it glows in the dark:

Glowing Glass Moss

.....but that's not what I wanted to show.

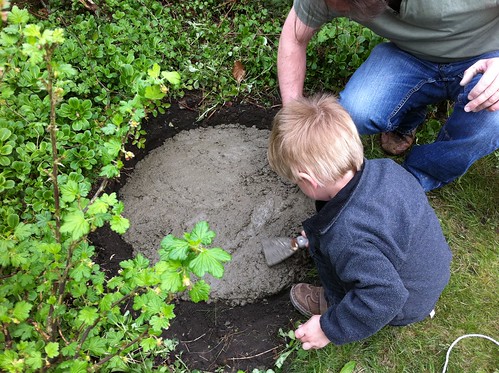
There's a clever project taking shape in the garden. It *will* involve glass, but only in step Three. Step One involved clearing a bit of the garden, making a circular hole, and filling it with concrete:

A Cunning  Plan

It is happening thanks to my lovely friend Rachel, and a text she sent me last Monday...and the idea kind of grew from there. I realise this is a slightly mysterious post, but all will be revealed ;o)

Thursday, 14 April 2011

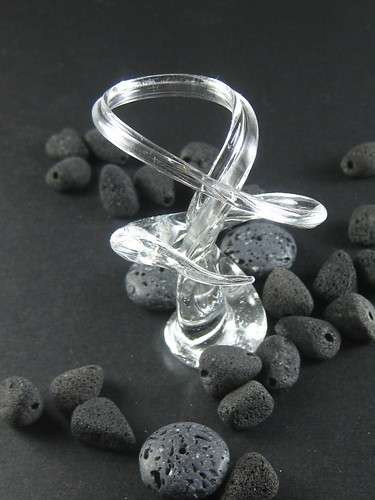
Meet the Twiddle-Fiddle-Diddle

It's a twiddle-fiddle-diddle

Isn't it funny! I spent ages trying to get a sculptural piece just right. No, I can't show it to you yet. Be patient. But as part of the prep for it, I found myself with large (we're talking at the torch here, so please see this in context) gather of glass. Sooooo....I pulled. And twisted. And twirled. And then stood like one of those kids who has played with a piece of string and tied herself in knots. So I melted one end off, all prettily, and shoved the whole thing under my fibre blanket. And forgot about it.

A couple of hours later, I started tidying up, when I noticed this rod sticking out from the fibre blanket. Oh.....it's the thingy. In order to get my rod back, I melted the other end off. Hmmm........there's quite a bit of glass at this end. If I heat it enough, I wonder if I can make a little base. Heat, heat, heat, plop. Oh yeah, a base. Great. I made a ... thing. It's small, it serves no purpose. I suppose, if you really wanted, you could plonk a couple of rings on it and call it a ring holder.

I photographed it for a laugh. And three people told me they liked it. The little twisty-twirly thing, now lovingly named...Twiddle-Fiddle-Diddle.

Is there a moral to this story?

Yes.

There is a place for twiddle-fiddle-diddles, for useless gathers of glass, random rod ends, bits and pieces. And it's not always the bin. Or the water jar.

Sunday, 10 April 2011

Homemade Confetti

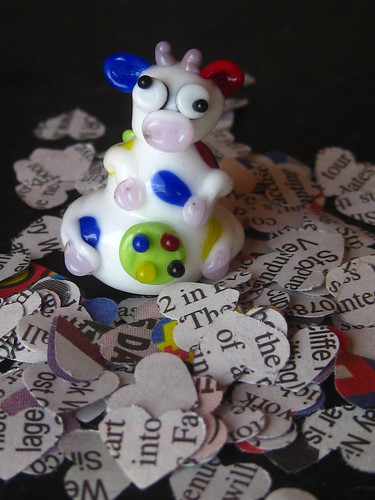
I've been asked by the lovely Kati to take part in her 'world beautification' project, since the current topic is......the Royal Wedding. The idea is to post a crafty tip, a recipe, anything that inspires others to get crafty. And with the Royal Wedding coming, is there a better time to take a patterned hole-punch to a newspaper (or a Shakespeare-Anthology), to create your own heart-shaped confetti?

.....it is also a great way to - erm - recycle/destroy all that annoying press about *that* date and *that* event :o)

Marjorie Moo